



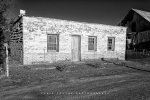


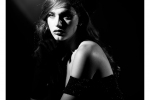
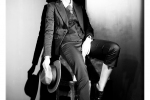
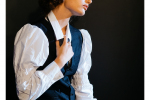



There are several schools of thought regarding whether or not a Rolleiflex TLR is a good camera for street photography. On the negative side, the exposures per roll are limited to 12, the vintage design often attracts attention, and it takes longer to advance the film to the next frame. On the positive side, the camera can be operated stealthily by shooting from the waist and/or aiming the camera perpendicular to the direction you’re facing; the 120 negative is much larger than its 35mm counterpart; and the leaf shutter is quieter and has less vibration than a camera with a moving mirror or shutter curtains. More important than which camera is used, is how it’s used, and how comfortable a photographer is using it. While you may miss a few shots shooting with a Rolleiflex TLR, you will savor the ones that were caught that much more.
Once a photographer is familiar with the operation of the Rolleiflex TLR, it’s time to put the camera through its paces and shoot some beautiful photographs. For street photography, a good method is to set the focus to 10 feet and the f/stop and shutter speed to a combination suitable for shooting in shade or sunlight. As you move from sunlit to shady areas, you should adjust the settings as required. By always having suitable exposure settings, a photographer will be ready to respond to photo opportunities at a moment’s notice. When you want to compose a tighter shot, it’s a simple matter to rotate the focusing knob to six or seven feet.
Of course, if time permits, it’s usually preferable to focus in the traditional manner of looking through the viewfinder. And when you’re close to a subject, some photographers will appreciate moving the camera slightly forward or backward to find focus as opposed to moving the focusing knob—it’s a matter of preference. In writings and interviews, legendary photographers such as Henri Cartier-Bresson, Weegee, and others often discuss the virtues of this simple approach. These universal principles are easily applied to most cameras and formats, not just the Rolleiflex TLR.
 |
 |
 |
In urban areas, it’s advantageous to walk against the flow of foot traffic to facilitate photographing the faces of passersby. While rear views can sometimes tell a story, they’re seldom as compelling as frontal shots that include faces. Additionally, by choosing which side of the street to walk on, one is also choosing whether a person will be back or front lit, and if they’ll be in shade or open sun—providing, of course, that it’s a sunny day, that the sun is not directly overhead, and that nearby buildings, trees or other obstructions are tall enough to create shade. In areas with tall buildings, you can often find that a pleasing combination of directional and soft light is created by sunlight bouncing from reflective surfaces.
One shooting method is to select an area with interesting lighting, choose a camera position with an uncluttered background, and simply wait for interesting subjects to walk into the frame. Although this method can yield good photos, it’s seldom as fruitful as simply being ready for and responding in a less predetermined manner. To increase the opportunities for catching elusive and fleeting moments, scan fifty or more feet ahead of where you are walking, for people with interesting faces and for moments in the making. Something as simple as two friends meeting in front of a restaurant can result in an emotionally charged photo opportunity. Part of the reward of street photography is improving one’s skills at accurately anticipating how people will behave, how moments will transition, where to position the camera, and how to conduct oneself to capture these meaningful slice-of-life vignettes.
Many photographers are understandably reticent, at first, to point a camera in a stranger’s direction. However, with practice and a smile, it is not only possible to become comfortable with photographing strangers, but in many cases it is easy to engage in pleasant conversation with them. In fact, with their quirky, vintage appearance, the Rolleiflex TLRs are often conversation starters themselves, and can even elicit requests from strangers to shoot their photo. When considering the importance of telling stories with facial expressions, never rule out the value of expressions that run the gamut of human emotion—even an expression of discomfort can tell a memorable story. Photographer Richard Avedon was a master at this, and would often peer through his Rolleiflex TLR for awkward minutes until a subject’s “public face” fell to reveal who they really were. This is not to suggest that a photographer shouldn’t be aware of and considerate of how others may feel when photographed. However, when photographers display a sincere desire to elevate a subject or an event, to communicate their vision, and to create art, this sincerity will be apparent to others and not only put them at ease, but enlist them to the cause, as well. Although a delicate matter, it can be done.
While shooting with a Rolleiflex TLR or any TLR is relatively easy to do, like other artistic endeavors, it takes years of dedication to tap its full potential. For those who have never shot film, the best part of the process is often wondering what the photo will look like when it is developed, and whether or not it will meet or exceed expectations.
The biggest adjustment for those who have only worked with digital cameras is that it is not possible to review a shot on the spot after it has been taken. However, with practice, it is possible to envision what the photo will look like and to make the necessary exposure and other adjustments that will realize your vision prior to releasing the shutter. Having a photo in one’s head and capturing it with a camera is a rewarding experience, and examining the finished result for flaws is an excellent way to learn and improve your skills.
Rolleiflex TLRs were designed with all the controls in the perfect location for waist-level shooting. Looking down, it’s easy to see the two, tiny windows displaying the f/stop and shutter speed, which are adjusted by thumb dials on either side of the lenses. On the left is a robust focusing knob with exposure-meter needle, depth-of-field scale, film spool releases, and filter compensation scale that corresponds to the factor number printed on filters. On the right is the film advance/shutter cocking lever, which advances the film when rotated forward, and cocks the shutter when rotated backward. The lower right corner of the camera features the shutter release and shutter lock, while the top right has the self-timer/flash synch selector, and the bottom left has a locking synch outlet. All in all, the ergonomics are easy to understand and quickly become second nature.
Because waist-level viewfinders don’t have prisms, photographers have to become used to viewing their subjects laterally reversed. The stationary mirror behind the taking lens allows for proper vertical viewing, but doesn’t correct for the horizontal. Things can get confusing, however, when trying to follow a moving subject, because it is instinctive to pan in the same direction in which the subject is moving. However, when using a Rolleiflex TLR to challenge yourself, hone skills, or as a way to shake things up and shoot in a different way, each difficulty or obstacle can be viewed as beneficial.
Newcomers to the world of Rolleiflex TLR’s often report having difficulty holding the camera level. My feeling is that when you don’t think too much about holding the camera level, the shots come out perfect. It simply takes a little getting used to. Of course, shooting with a focusing screen that has a grid, or looking for objects such as buildings, curbs, or trees can aid in keeping the camera level.
One of the most popular uses for a waist-level finder is shooting ground-level shots, since it is possible to see through the finder without having to lie down on the ground, as with an eye-level finder. However, Rolleiflex TLR waist-level finders can approximate an eye-level finder with eye portals on the front and rear panels that function as a sports finder. While not optimal, with practice this function can prove useful in situations where obstructions prevent waist-level shooting. The advantages of shooting from the solar plexus is that people will look more “heroic,” as the horizon line and related background areas behind a subject will be shifted higher.
For shooting from a higher vantage point, try holding the camera above the head while looking up to compose and focus. One can see this technique demonstrated by none other than Fred Astaire in the movie “Funny Face”—a must–see for any Rolleiflex TLR shooter.
The Rolleiflex 2.8f, 3.5f, and some later 2.8e and 3.5e models have removable viewfinders. This offers the option of shooting with a chimney finder, and 90-degree or 45-degree eye-level pentaprism, which are heavy but allow photographers to view subjects without the image appearing laterally reversed.
The Rolleiflex 2.8f and 3.5f models have removable waist-level finders, with many having coupled exposure meters, as well. The coupling feature means that when one changes the ISO setting, filter compensation dial, shutter speed or aperture, it will affect the light measurement. This is different from earlier, non-coupled meters, used by photographers to obtain an exposure value number they can then use to set the proper exposure. Unfortunately, most Rolleiflexes are more than 50 years old, and their selenium cell meters no longer function or are inaccurate. Even if the exposure meter works, it’s quite easy to learn how to do without it. Simply use the f/16 rule of thumb, also known as the “Sunny 16 Rule,” which states that in bright sunlight the correct exposure will be f/16 with a shutter speed of 1/film ISO. Therefore, with 400-speed film, set the camera to f/16 and 1/400-second.
One of the best reasons for learning to set good exposures without a meter is to prepare for shooting rapidly unfolding action sequences that occur in low light, shade, or sun. An example might be at a sporting event that takes place in open and heavily treed areas. Having to spend time taking exposure readings could result in many missed shots.
One disadvantage of a TLR, as compared to an SLR in terms of subject viewing, is that you can’t look through the taking lens and see the depth of field for a specific aperture, or see the effect of certain filters such as polarizers. Fortunately, the TLR’s focus knob has a white band that widens as the lens opening is reduced, and that corresponds to the distance scale on the part of the knob closest to the camera. Distances in the white area will be in focus and those outside this area will be out of focus. A photographer would thus focus on the closest and farthest parts of a scene they wanted to be sharp, note the distances and focus on a spot approximately 1/3 in. So, if the near distance was 10′ and the far distance 40′, you would set the focus to 20′ and rotate the aperture dial until the white band included everything between 10 and 40′. When calculating depth of field, bear in mind that:
The standard procedure for using a polarizing filter is to look through the filter with the naked eye while rotating the front ring until the desired polarizing effect is achieved. Simply view the scene to be photographed through the filter, rotate the front ring until the desired effect is achieved, note the number on the top of the filter, install the filter, and rotate the ring until the notated number is on top. While this might not be as fast as using a polarizing filter with an SLR, it works quite well.
One thing to consider is that many vintage Rolleiflex polarizing filters, which go by the name Rolleipol, suffer from damage such as waviness and fading. The same is often true of dark red filters. Good ones can be sourced, but it may take some effort. The numbers around the perimeter of a Rolleipol are from 1-18. Fortunately, Heliopan still makes bayonet-mounted filters in several sizes, including Bay III size for the 2.8f, and Bay II for the 3.5f model cameras.
Many photographers appreciate the benefits of shooting with just one film sensitivity, such as ISO 400, which is good for many low-light situations. The downside is that when shooting with ISO 400 in bright sunlight, the working aperture of f/16 may result in more depth of field than the photographer wants. For this reason, it’s a good practice to carry a 2x or .6 ND (Neutral Density) filter. By using this ND filter, the effective film speed is reduced to ISO 100 and the photographer can shoot at f/8.0, an aperture 2 stops wider than f/16. An alternative to using an ND filter for photographers favoring black-and-white photography is to use a 1.5 Yellow filter, which has the advantage of darkening a blue sky, while also reducing the effective film speed from ISO 400 to 160.
The filter factor number on the filter housing matches the number displayed on the filter compensation dial on the bottom left side of the camera. Simply rotate the dial to the number on the filter and the coupled exposure meter will adjust the exposure accordingly. For instance, the number 1 would result in an exposure increase of 1 stop, which correlates to the exposure decrease of 1 stop from using the filter. To achieve the same result when computing exposure with a separate meter, simply adjust the ISO setting by 1 stop.
Rolleiflex lenses are single-coated and therefore prone to flare—so don’t forget to use a lens hood. By the way, a lens hood will also serve as a protective bumper and help shield the lens from light rain. The benefit of not being multi-coated is that by reducing maximum density, the lens creates an illusion of greater shadow detail. Flare factors to consider include the following.
For flash usage, the leaf shutter will synch with electronic flash at all speeds, which on a Rolleiflex 2.8f or 3.5f is 1/500 of a second. To trigger a flash, simply connect a synch cord from the flash to the synch outlet on the bottom left of the front of the camera and set the flash synch lever on the upper right to X for electronic or M for bulb flash. The synch outlet on a Rolleiflex TLR has a lever that will lock when used with a Rolleiflex-specific synch cord. Small flash units may be attached to an optional third-party cold shoe that is connected to the bayonet mount on the taking lens, held with a bracket screwed to the tripod mounting screw underneath the camera or Rolleifix quick release, or handheld. The benefit of shooting with a handheld flash is that a photographer can aim the light in more directions.
 |
 |
 |
Shooting film with a vintage Rolleiflex TLR is a great way to return to or learn the basics of photography. The knowledge acquired from film shooting and developing can be readily applied to digital work, and vice versa. And for photographers interested in building a distinctive body of work, shooting with a specific camera and format for several years has a good chance of producing the desired result. If it’s fun, challenging, and feels right, you’re on the right track.
The Wonderful World of Rolleiflex TLR Photography is a three-part series. If you missed Part 1, Buying a Used Rolleiflex, or Part 2, Loading Film, just click the links.
Please subscribe to my free monthly NO-SPAM newsletter which will inform you of any new workshops, activities, products and upcoming events.
SUBSCRIBEI am a Western Cape Winelands photographer based in South Africa, photographing locally and internationally. I am a registered NPS (Nikon Professional Services) member, a contributor to Nikon South Africa's social media pages and website. I photograph a broad variety of genres, using film - 35mm, 120, 127 and 4x5" 4x10, 5x7" & 8x10" format as well as digital medium and are very passionate about my work.
My work has been published in various South African newspapers and magazines including Atlantic Gull Magazine with a cover, SA4x4, HIGH LIFE (British Airways Magazine), Getaway Magazine, Wildside Magazine and Weg!/go! Magazine. I finished as a Top Ten finalist in the 2016 Getaway Magazine Gallery Competition, finishing with Highly Commended. The South-African national news broadcaster eNCA has also made use of video footage that I have produced.
Please feel free to comment and share. You can also click on the social media buttons in the footer below and see what I am currently doing, or sign up for my newsletter and follow me.
Until next time, thanks for your support, appreciating my work and reading my blogs.
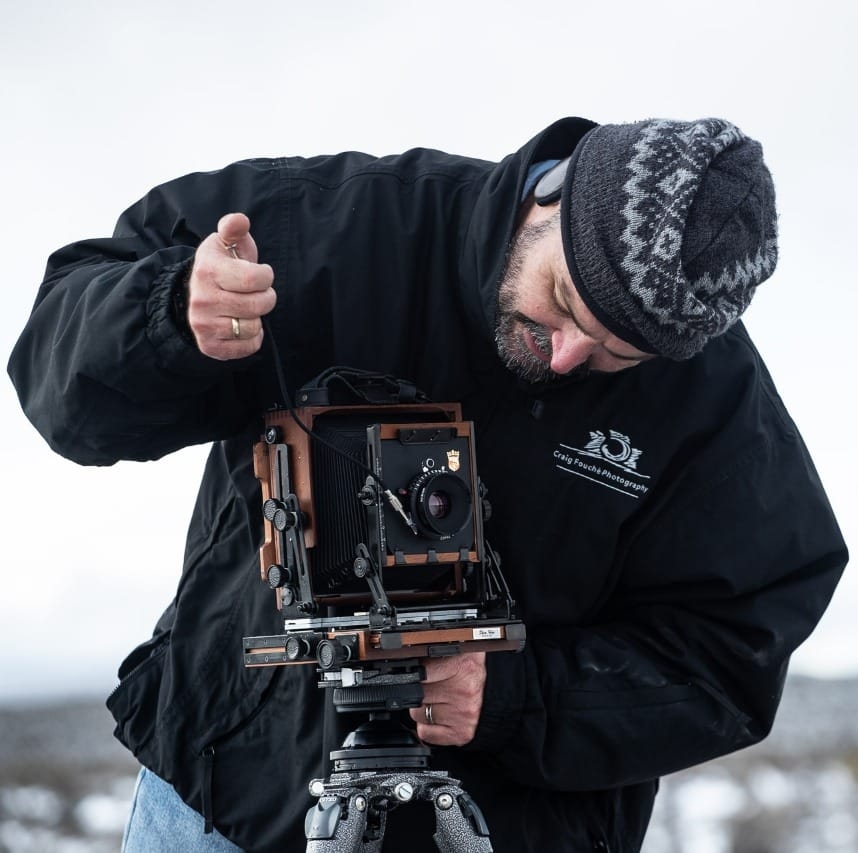
Craig Fouché, Rogge Cloof, Sutherland, South-Africa ©2020 Kirsten Frost Photography
There are no upcoming events.
There are no upcoming events.
This is a demo store for testing purposes — no orders shall be fulfilled. Dismiss
Leave a reply